How to Enable PCI Passthrough on EVE-NG
Have you ever needed to pass a PCI device directly to a node inside an EVE-NG lab? It is certainly not a common configuration, but I had a need for it and could not find any simple explanations on how to do it. I spent some time trying a few different things (and going through a lot of web searches), and I got it to work. This post details my use case and how relatively easy it is to do yourself.
This post is also available on LinkedIn and Medium.
I have been running ESXi on my home servers for over a decade. I tried other hypervisors during this time, and while some of them are quite good (such as Proxmox), I always felt the most comfortable working with ESXi, and it always had the features I needed and they are easily accessible.

As a computer networking professional, I spend a decent amount of time working in virtual lab environments. I have experimented with all of the major lab platforms (and several lesser-known platforms as well), but I keep coming back to EVE-NG, primarily because it is very easy to use and build labs quickly.
From the beginning, I ran EVE-NG as a virtual machine on my ESXi server. This worked pretty well until I started to require larger topologies using network operating system (NOS) images that require more resources. RAM has never been an issue in my server (I have 224 GB right now), but NOS images that use DPDK for forwarding do not perform well in a nested virtual machine.
I use my server for other tasks besides networking labs. I bought a Cisco UCS c240 M3 because it holds 24 drives and will easily house all of my NAS storage needs for the household. I also have other smaller utility VMs running on it. Because of this scenario, I did everything I could to avoid running EVE-NG directly on the server (bare metal), and instead stick with ESXi.
I even attempted to get rid of EVE-NG altogether by writing some scripts in Python to automatically create networking labs directly on ESXi. I spent a decent amount of time on that small project, and I am proud of what I produced, but ultimately that solution lacks the extreme flexibility that running network labs on EVE-NG provides.
It finally occurred to me that because I have always passed the raw drives into my NAS VM, it might not be that difficult to do the same thing inside EVE-NG. As I write this, the configuration for doing so is not documented anywhere in association with EVE-NG. Many of the answers to questions on the EVE-NG forum have responses that essentially say “Why would you want to do that?”, otherwise known as “Figure it out for yourself!”
To perform the switch from ESXi to bare metal EVE-NG, the first thing I did was back up all my data (to both local and cloud), and unplug all my drives (just in case). Installing EVE-NG as bare metal initially presented a small challenge for my UCS M3 server because I have a 1TB NVMe drive installed in a PCI slot that I am using as the primary storage for EVE-NG.
NVMe was not popularized until after this server was released, so
the server does not recognize it as a boot device. Luckily, Linux is
flexible enough to separate the boot storage from the system storage,
so I simply erased the internal SD card that ESXi was installed on,
created a small EFI partition, and used the rest for the /boot partition.
I then placed the root partition on my NVMe drive. This works perfectly.
I finished installing EVE-NG, and tried running a couple NOS images to
make sure everything still works as expected.
Now (finally) to the reason you are reading this: enabling PCI passthrough. EVE-NG has this functionality disabled by default as it is not normally necessary for networking labs. As mentioned, my use case is to pass my server’s PCIe RAID controller directly to my NAS VM.
The first step is to enable IOMMU functionality by editing /etc/default/grub.
Look for the line GRUB_CMDLINE_LINUX_DEFAULT and add intel_iommu=on
to the list of parameters. Run the command update-grub and then reboot
when finished. This assumes an Intel CPU, of course. The commands are
different for AMD CPUs. This is all it takes to enable the functionality.
Now you need to find some of the ID information for the PCI device you want to pass. Either create a shell script or just paste the following into the console:
for d in /sys/kernel/iommu_groups/*/devices/*; do
    n=${d#*/iommu_groups/*}; n=${n%%/*}
    printf 'IOMMU Group %s ' "$n"
    lspci -nns "${d##*/}"
done;
This command displays all of the PCI devices in your system, organized by IOMMU group. There are two pieces of information we are looking for. In my case, I have an LSI Logic RAID controller I’m looking for, and my result is:
IOMMU Group 36 82:00.0 RAID bus controller [0104]: LSI Logic / Symbios Logic MegaRAID SAS 2208 [Thunderbolt] [1000:005b] (rev 05)
The two key pieces of information are the bus ID 82:00.0 and the device
ID 1000:005b. Unless you are using this exact RAID controller, your
information will be different. I am using these values in the next
several commands, but make sure to replace them with your own values.
Now that the device information is known, it has to be assigned to the VFIO
module so it can be used with QEMU. Edit the /etc/initramfs-tools/modules
file and add the following line:
vfio vfio_iommu_type1 vfio_virqfd vfio_pci ids=1000:005b
Edit /etc/modules and add:
vfio vfio_iommu_type1 vfio_pci ids=1000:005b
Edit /etc/modprobe.d/vfio.conf and add:
options vfio-pci ids=1000:005b
Now run the following command, which takes a bit of time to execute:
update-initramfs -u -k all
Reboot the system after this completes. Log back in to the console and run the following command:
cat /sys/bus/pci/devices/0000:82:00.0/modalias
My result was pci:v00001000d0000005Bsv00001000sd00009271bc01sc04i00. Now
edit /etc/modprobe.d/vfio.conf and place this value at the top of the
file, like this:
alias pci:v00001000d0000005Bsv00001000sd00009271bc01sc04i00 vfio-pci
Now run update-initramfs -u -k all again and reboot the system when
it finishes. Log back in and run modprobe vfio-pci.
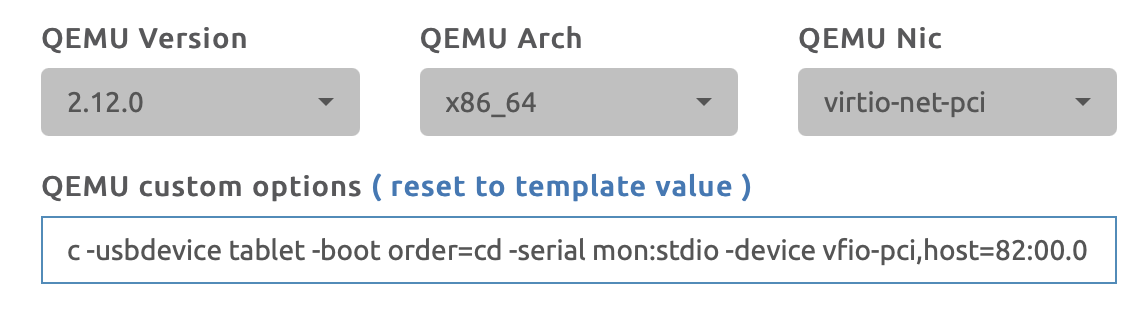
Now use the EVE-NG web UI (or API) and add your desired node to a lab. When you create the node, edit the QEMU options and append the following to the end (once again, replacing my values with your values):
-device vfio-pci,host=82:00.0
When you start the node in the lab, the PCI device should now be passed through. In my case, my RAID controller is passed directly to my TrueNAS VM so all of my drives are directly-accessible. Now obviously, doing this is not in any way considered a best-practice and you will want to make sure your data is properly backed up.
For example, an extra precaution you can do is back up the lab node’s
virtual disk file. When you instantiate a node in EVE-NG, the template
VM is copied to a temp folder. To find this folder, find the UUID of
your lab. In the web UI, open your lab, then click Lab Details. Make
a note of the last several characters of the ID. The virtual disk file
will be located at /opt/unetlab/tmp/0/UUID/NODE-ID/*.qcow2. Copy this
file to another location in order to keep a backup.
The Pro version of EVE-NG allows you to run multiple labs simultaneously. In my case, I could keep my NAS VM in one lab, and then create my normal network emulations in their own labs. The Community version only permits you to run a single lab. The easiest option in this case is to just add the node with the passthrough to the lab, but not connect it to the rest of your topology.
An alternative (in both Pro and Community) is to instantiate QEMU directly
outside of a lab from the console. EVE-NG is a heavily-modified system,
and the easiest way to figure out how to do this is to create and configure
your node using the instructions above and start it within the web UI.
Now immediately go to the console and run tail -n 20 /var/log/syslog
to see the full command that is run when the node is started from the
web UI. You can modify this command as needed, and execute it directly
from the console to bypass the web UI.
While I am familiar with Linux, I am not an expert and I may have misused (or mis-explained) some of the terminology. Either way, the end result was a working system and this was how I did it. I spent quite a bit of time searching for answers for this, and I found the most useful information from these two links, and I recommend you have a look at them for further information.
Access to direct storage is my current use case, but there are many other possibilities, particularly in the realm of network labs. For example, you might have a specialized PCIe or USB network interface card that you would like to have direct access to inside a VM.
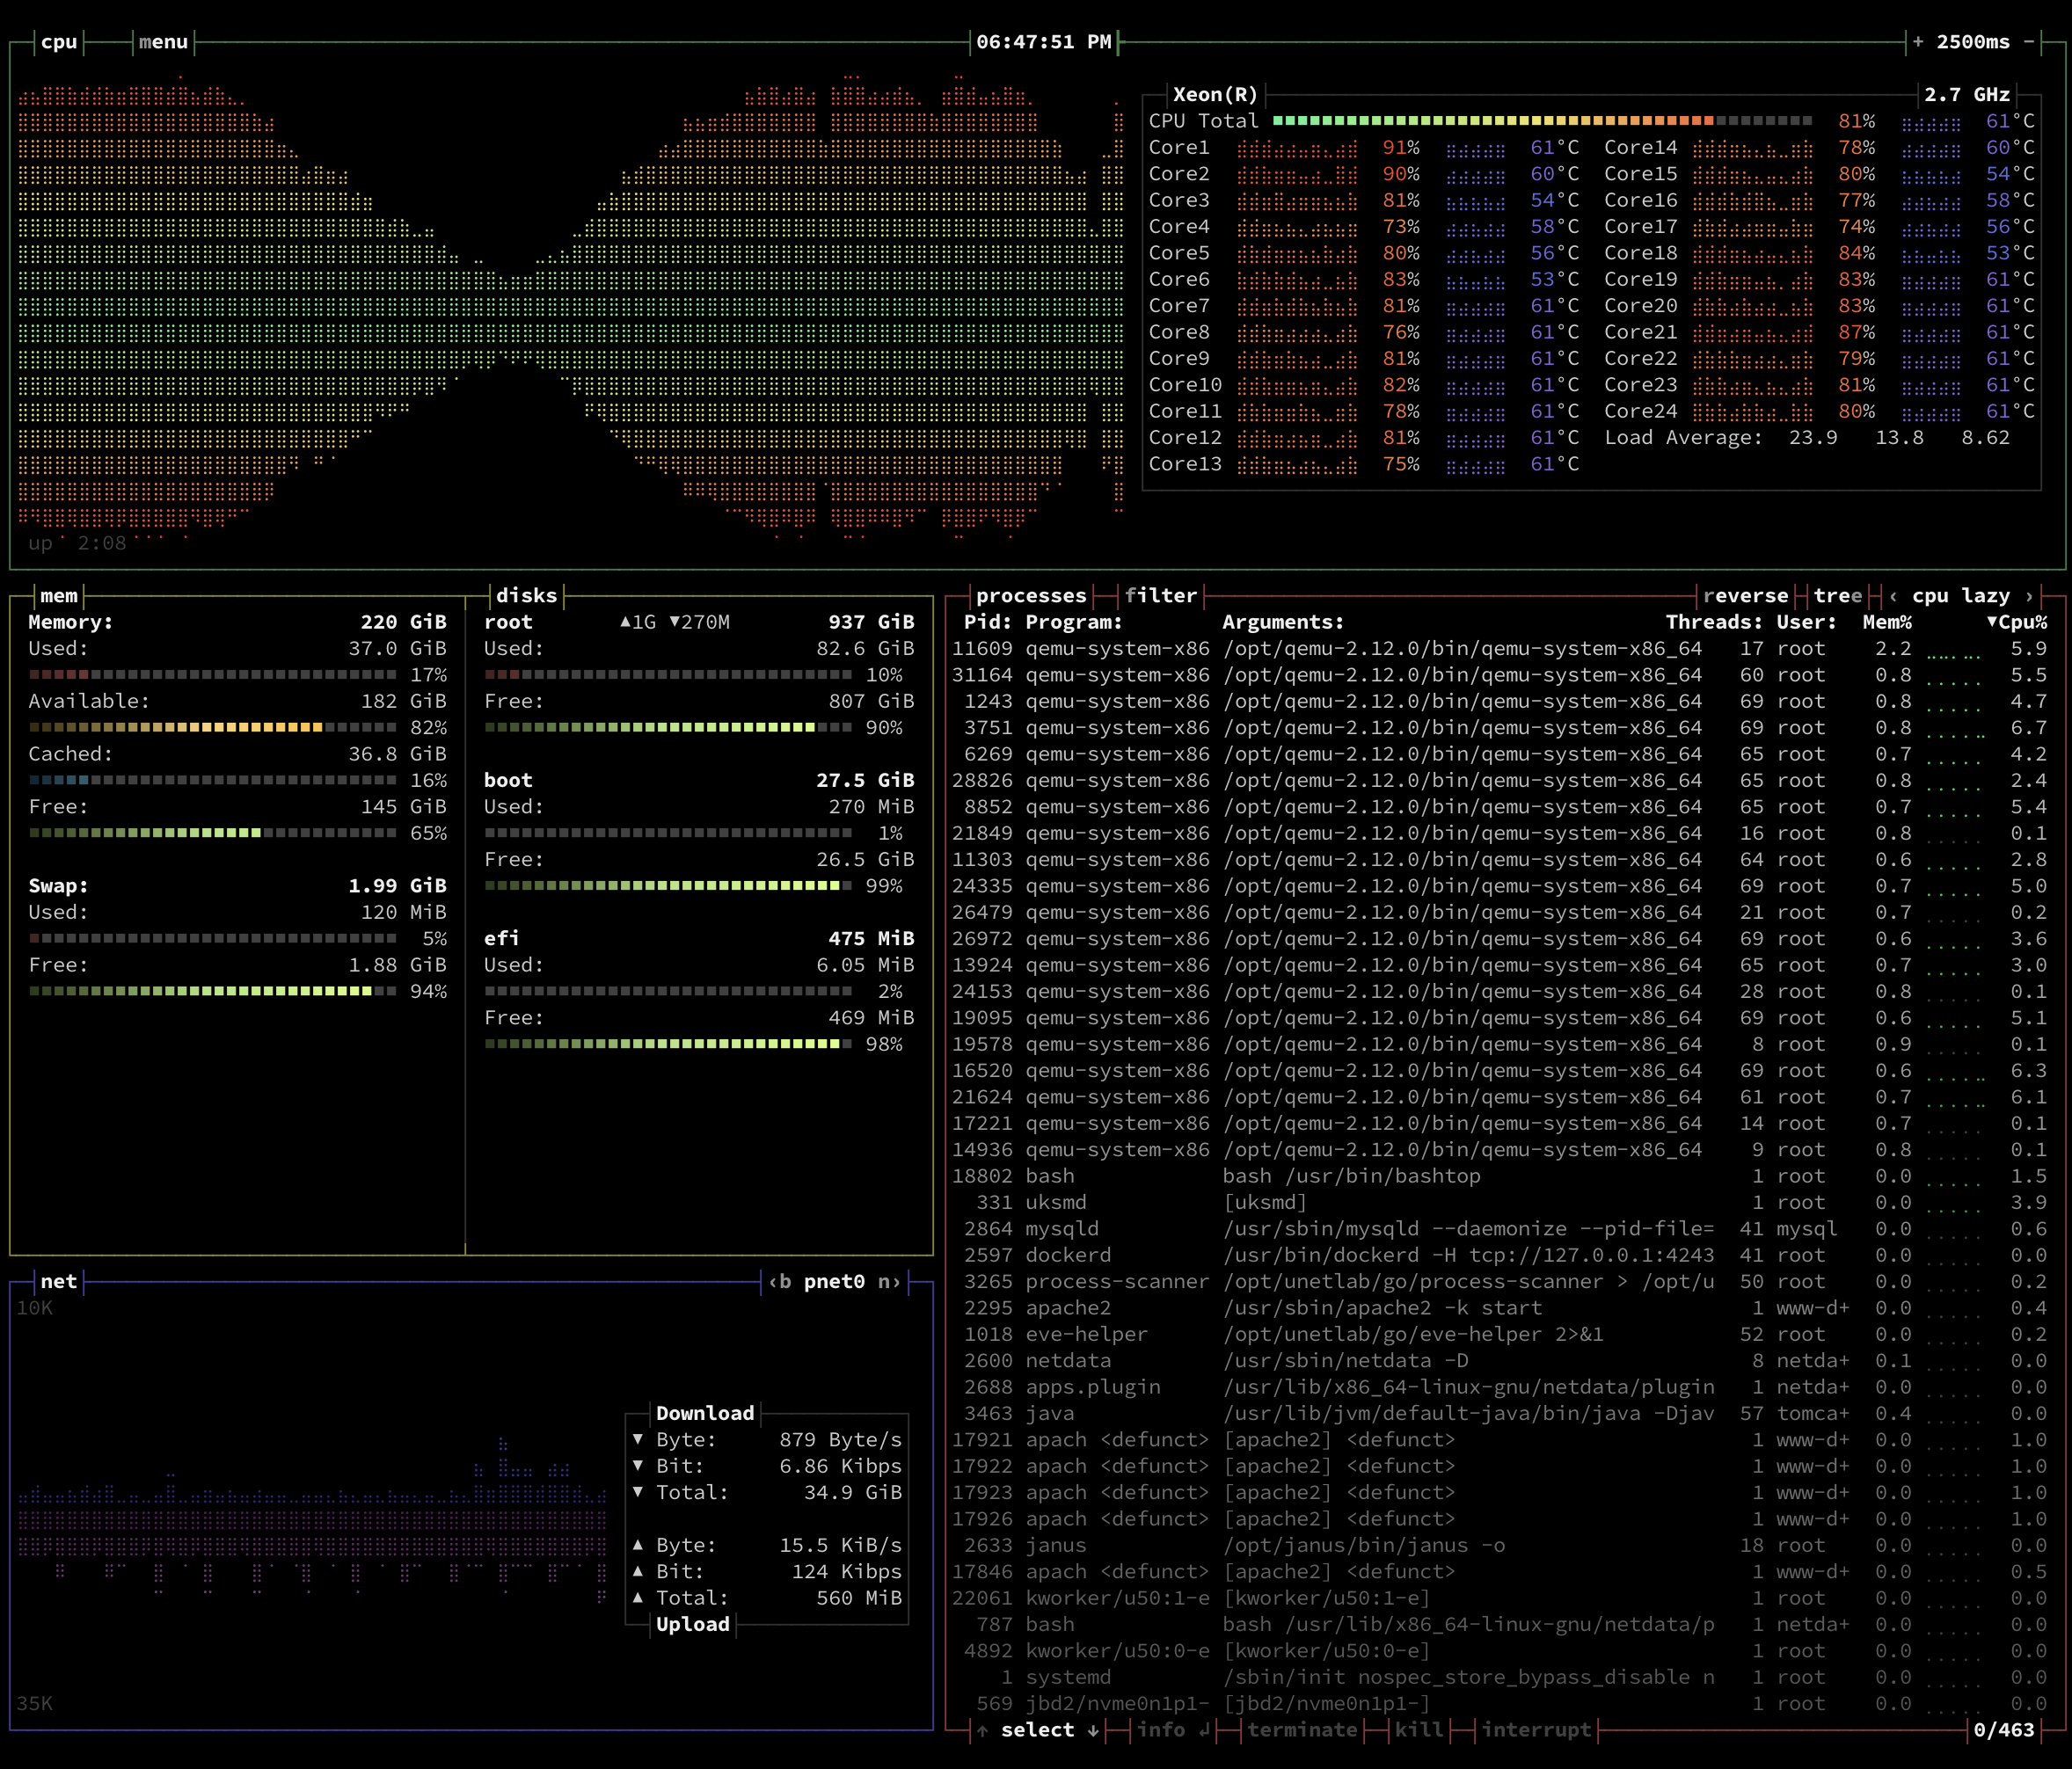
Now with EVE-NG running as bare metal, I can install bashtop and try booting a bunch of Cisco XRv9000’s!